Here are more updates specifically on the basement bathroom. I didn't realize there's a lot of change since my last post already. It just seems like it's been the way it is now for quite some time. I'm definitely getting a little impatient and can't wait until we can move in. This is going to be a long post which is GOOD because that shows PROGRESS! My numbering continues from last post on the basement bathroom :
3. In the last post I had separate head on shots of the framing of the two walls that meet to encase the basement bathroom. Here is an outside shot from the corner angle of the two walls.
 This picture is taken from the same spot but looking down onto the floor drain right beside the wall. It's hard to see the hole because it's filled with some stuffing to keep debris out and surrounded by newly poured concrete. This existing drain serves the mudroom and the hot water tank in case it blows. The building inspector usually requires one closer to the water tank (which in our case is far in the corner near the centre of the basement - it's still in the same room but we've enclosed it into a sort of closet with the furnace) but my contractor convinced the inspector that we don't need a separate one since the floor slopes down to this spot anyway. A new water tank we're putting in will have an eight year warranty. The smaller white drain pipe coming out of the wall is from the central water filter, routed from under the house's main entrance foyer (where the main water supply line is and the actual filter will be set up) up into the basement ceiling into the laundry area down this wall and then sticking out at the bottom of this wall to discharge water into the floor drain. I didn't like that but my contractor convinced me that it'll work out. Fortunately we had an even better solution you will read about below. We are getting our whole house central water filter from Amrak. A glimpse of the neo-angle shower pan in place.
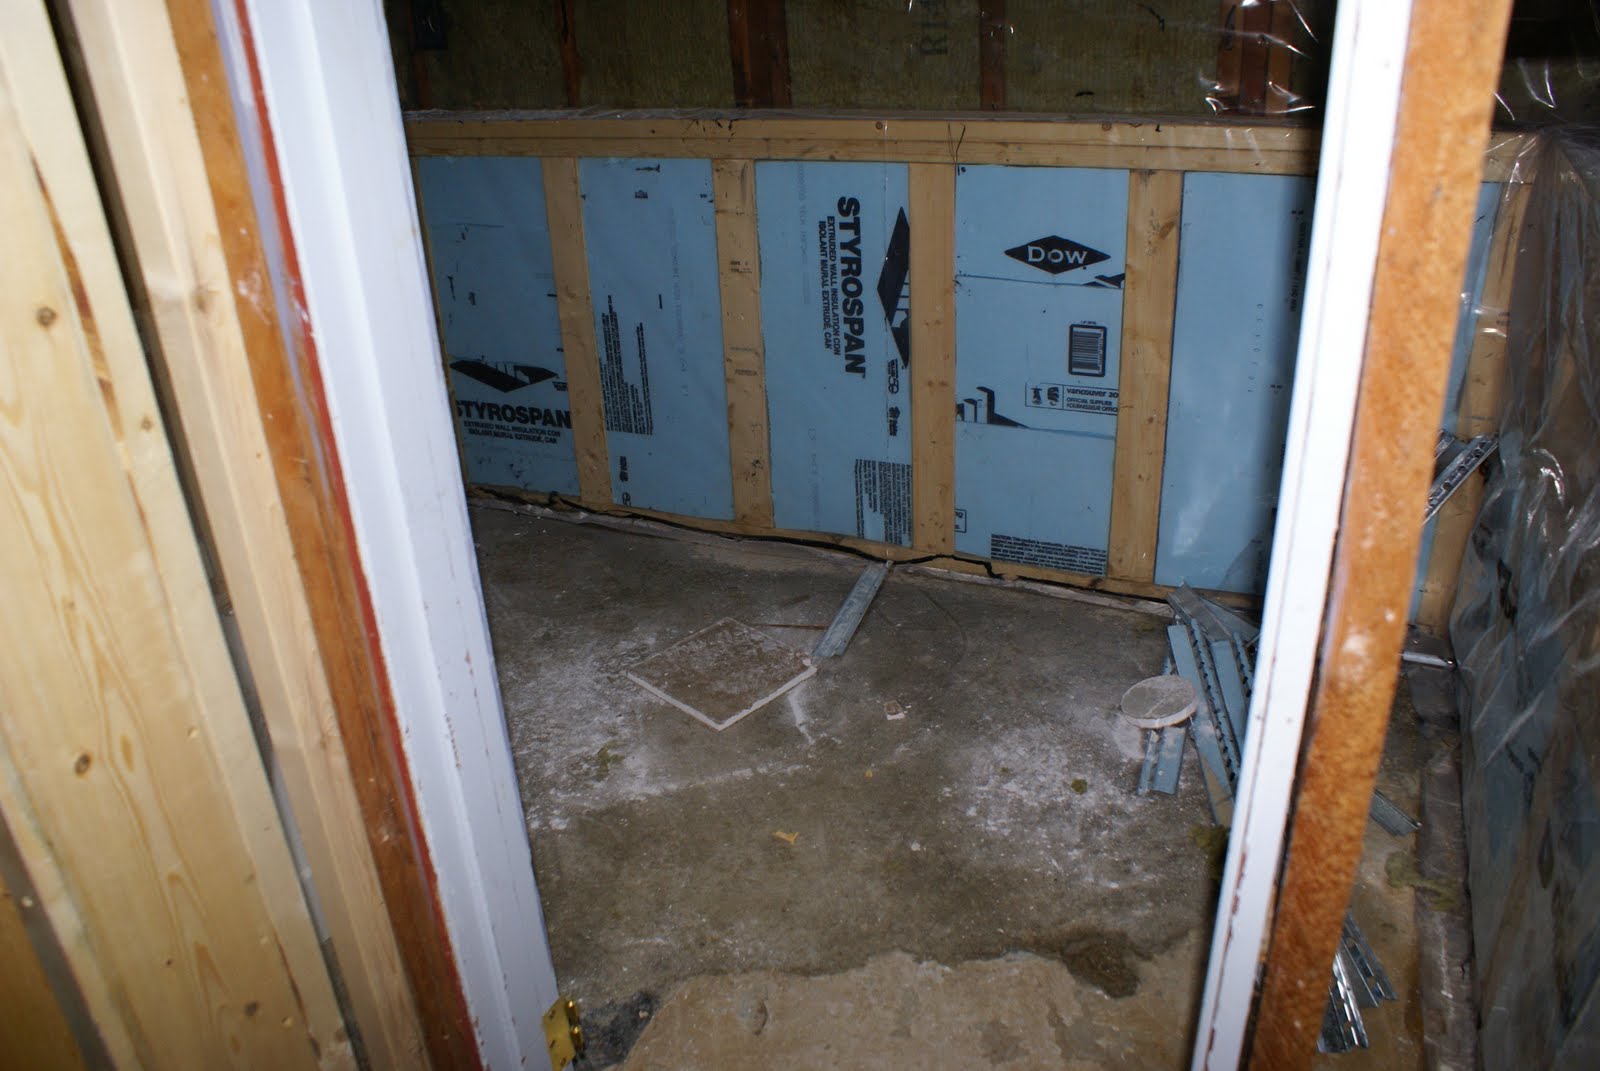
The view from the doorway. The concrete has been poured and the floor is closed up again.
The neo-angle shower pan is in place and the view of the main drain pipe, placed inside the wall, that will carry the sewer from upstairs into the city pipes.

The view from inside corner to outside seeing through to the laundry area. The black pipes are drains, the smaller white ones supply the water. There is actually another big drain pipe with knobs and such that is also moved to hide into the wall on the very right side of this picture.

4. The drywall is put up on the inside of the bathroom. See you can no longer see right through the wall now from the laundry.

This is left of the doorway to the bathroom. The same drain pipe that was moved to be hidden inside the wall. With the drywall up you can see that it is definitely inside the wall now.
 Looking in from the doorway. The old window was still there.
Drywall all up. You can now see the rough-ins for the sink and shower. This bathroom is small so the wall that separates it from the hall is moved a few inches to make more room for the shower. A rectangular shower is out of the question due to the lack of space. The neo-angle shower shape didn't appeal to me at first and I had considered the rounded corner ones but my contractor says that they're harder to install and the doors don't give a good seal when closed. At the Andrew Sheret showroom all the showers look amazing no matter which shape, so neo-angle it is. Shower pans are much cheaper than tiled ones. It would have been nice to have tiles for the shower floor but then again I would have to be more diligent on scrubbing it regularly to keep stains from sticking to the grout.

View of the doorway from inside the bathroom.

5. Drywall was put on the other side of the walls. The building inspector pointed out that a backflow preventer for the whole house central water is needed to protect the city pipes. She'd suggested that we need a separate drain under the foyer where the filter will be because that was where the backflow preventer presumably will be. That would have been expensive and a lot of work for the plumber to dig a trench in the ground all the way to that spot. The water guy from Amrak came and took a look then suggested we simply install the backflow preventer to where the drain pipe which is hidden in the wall and have the water pipe come to the it then back to the filter then to the rest of the house. More pipes but much less work. Here is a picture of the backflow prevent. As I'd mentioned above how the filter drain is stick out to the discharge water into the floor drain, now it's routed to drain in this same spot. The drywall has covered it but this opening connects to the drain next to it down below (the one I keep mentioning how it's moved to hide inside the wall).

New window - makes quite a difference doesn't it?
 More mudding of drywall and sanding.
View of wall where drain pipe is hidden from inside the bathroom. I'm so happy that I don't have to look at that pipe that was almost of the middle of this bathroom again!

And I guess we're up to date now. Phew that was a whole lot of typing.
No comments:
Post a Comment